| Home > Knives > Yukimitsu Tanto Blade |
|
==========
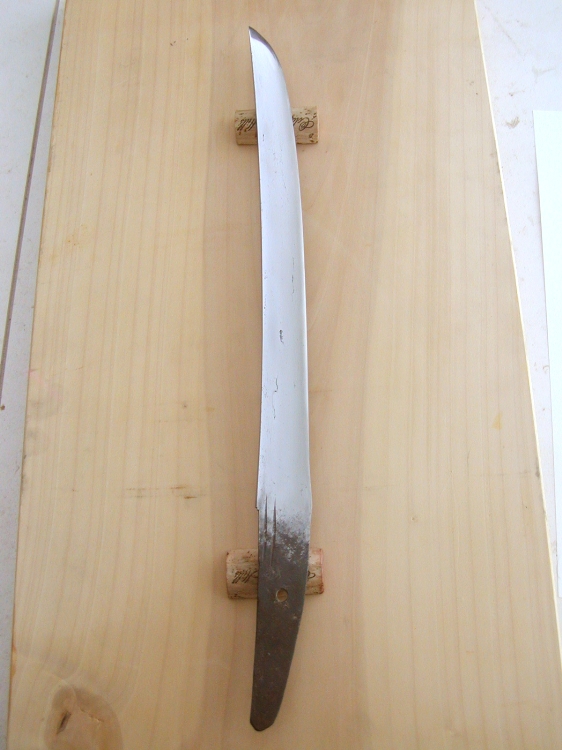
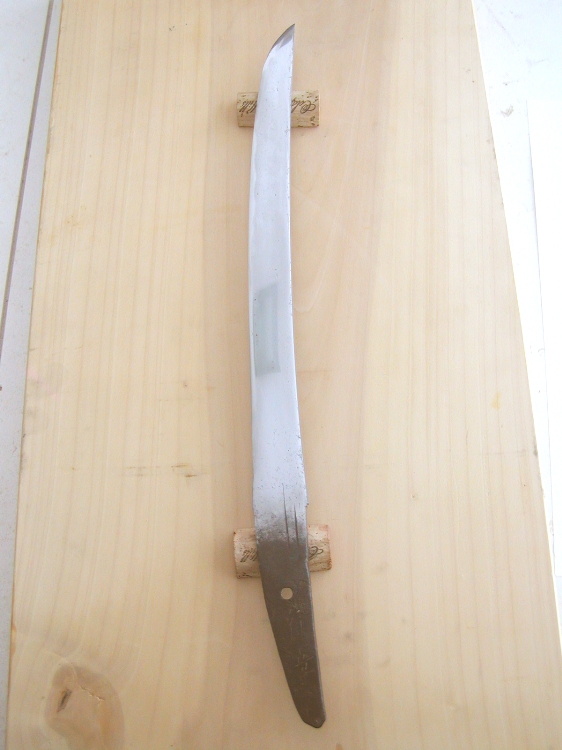
This is a tanto blade I got for practicing my polishing. I worked on it everyday for the past 8 days to grind to make the shape, sharpen, and polish....
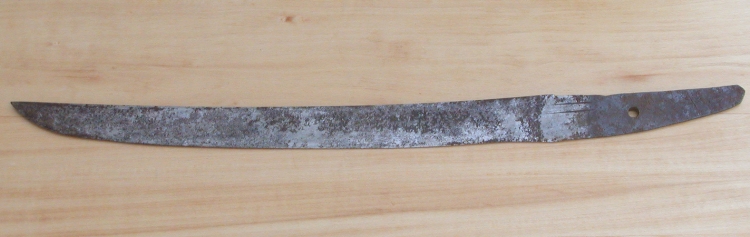
It is very old. I have no idea which era it is from, but assuming from the seriously thinned and heavily ground blade, it has probably been used in combat.
It is nothing so special (otherwise a real Japanese sword won't be sold for this kind of price...), but it is genuinely Tamahagane made blade. The Tamahagane isn't the modern one from Nittouho either, so it should be an interesting blade for the price.
The price does not include the sharpening and polishing I've done, because it is nowhere near "proper". The price is basically the price of the rustly blade and the shipping I paid for this blade + the sheath I made. Although it is reasonably polished, please think that you are basically paying for the raw blade itself but not the polishing.
I didn't take out all the rust because I didn't want to further thin the blade. It is polished up to light Nugui, "Hadori = the process where you highlight the hamon and make it whitish" hasn't been done. You can still see faint marks from the Uchigumori stone if you look very closely under strong artificial light, so again please don't think that it is polished to the professional's level. If it was you'd be looking at $1000 more.
The polishing done here is for decorative purpose, so the edge isn't as keen as it can be, but when I tried to make it sharp it was seriously sharp.... The bite I felt from the edge was really what I had expected from Tamahagane. So, if I were to use it, I'd make it into a yanagi-ba style knife.
*Tamahagane [tam-ah-ha-gan-ay] ( 玉鋼 )
Tamaganane is a type of Japanese steel, translated as "jewel steel" it is mainly used to make Japanese swords and some tools. Native supplies of the base iron ore are low, therefore they only smelt if for Japanese swordsmiths.
The smelting process used is different from the modern mass production of steel. A clay vessel about 4 feet tall, 12 feet long, and 4 feet wide is constructed. This is known as a tatara. After the clay tub has dried, it is fired until dry. A charcoal fire is started from soft pine charcoal. Then the smelter will wait for the fire to reach the correct temperature. At that point he will direct the addition of iron sand known as satetsu {sa-tet-sue}. This will be layered in with more charcoal and more iron sand over the next 72 hours. 4 or 5 people need to constantly work on this process. It takes about a week to build the tatara and complete the iron conversion to steel. When the process is done they will break the clay tub and take out the steel bloom known as a kera. At the end of the process the tatara will have consumed about 10 tons of statetsu and 12 tons of charcoal leaving about 2.5 tons of tamahagane.
As you can see, Tama-hagane is very special steel. The cost of TAMA-HAGANE at the present is about the same as or even more expensive than the price of gold per gram.. This steel is the very best Japanese steel, and at the same time the most difficult steel to forge properly. Because it has such a less amount of impurities, the effective range of temperature to harden this steel is only about 5 degrees C! That means the blacksmith must be able to tell the temperature of the heated blade by its colour, with such a high accuracy. When this steel is properly forged, the sharpness is the best out of anykind of steel. It is quite tenacious and hard and sharpens to a very keen edge, but very very easy to sharpen.
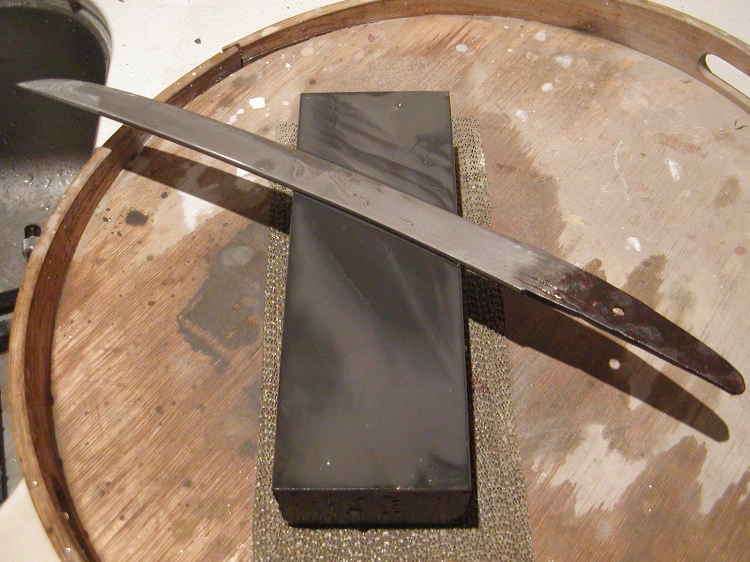
Grinding, Sharpening, and Polishing
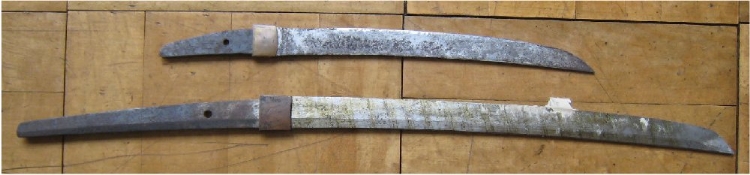
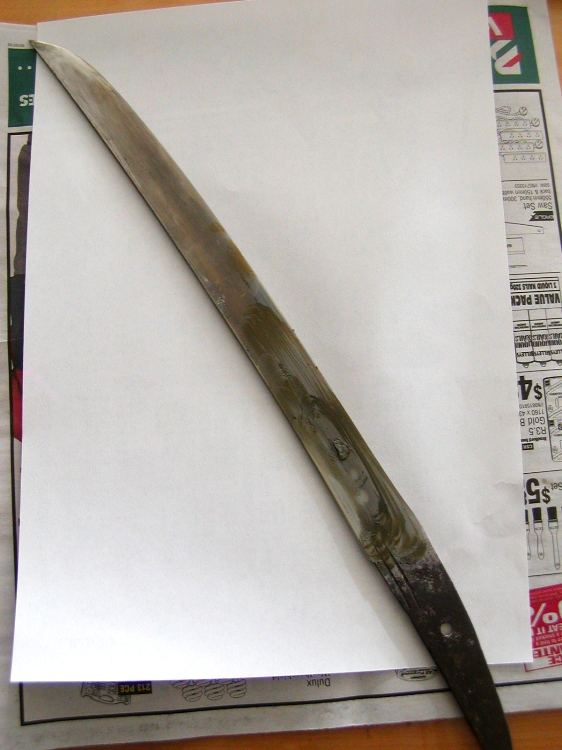
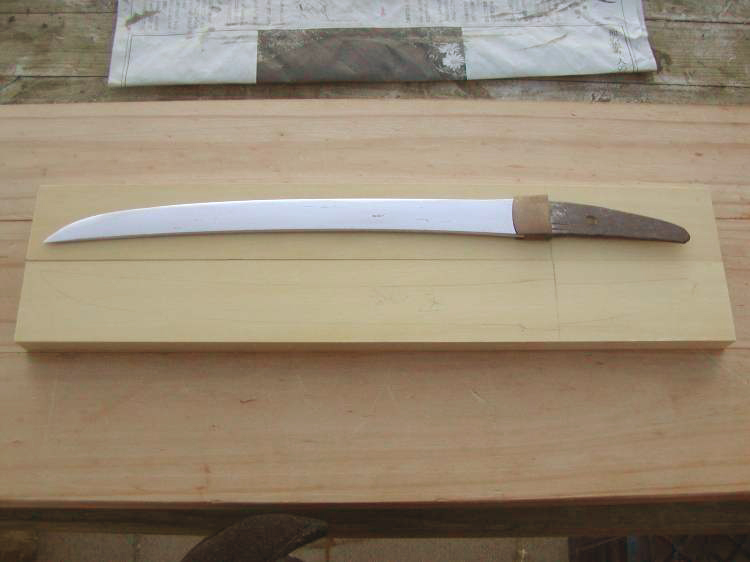
How it was before polishing (the top one).
Shown at the bottom is a broken at the tip katana. Judging from the length of the nakago (the tang) this must have been a lo~~~ng sword! This one is for a certain special project... Being broken at the tip, it is a perfect material for this project.
At this stage, it is basically a gamble whether this blade is a genuine sword or not.... Sometimes, it is a Gun-to (military sword), sword made with spring steel during the last world war, which has neither hamon nor folding patterns on the jigane = not a genuine sword.
Binsui-do done.
I used Tsushima-do instead of Naka-nagura.
Erasing the Binsui marks.
After this, I used Kouzaki Suita, Sougandani Kiita instead of more expensive Koma Nagura and Uchigumori.
Oohira Uchigumori Jizuya. I can't be stingy for this process, so I used the best.
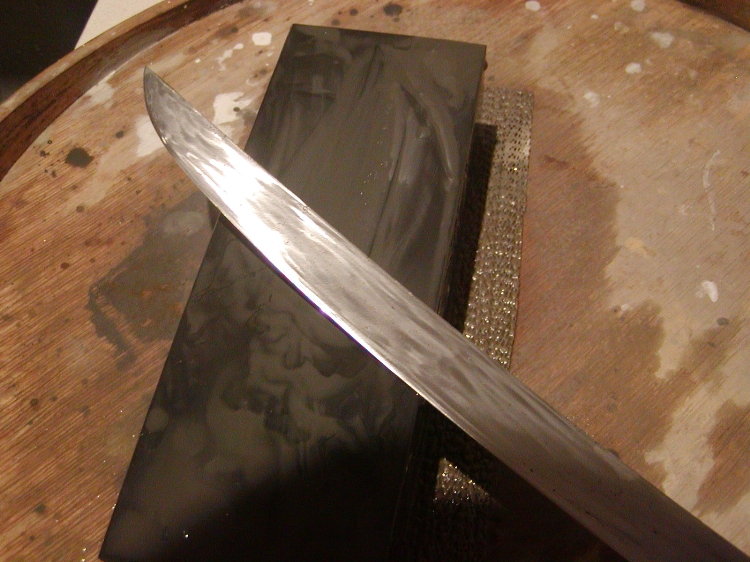
Nugui done.
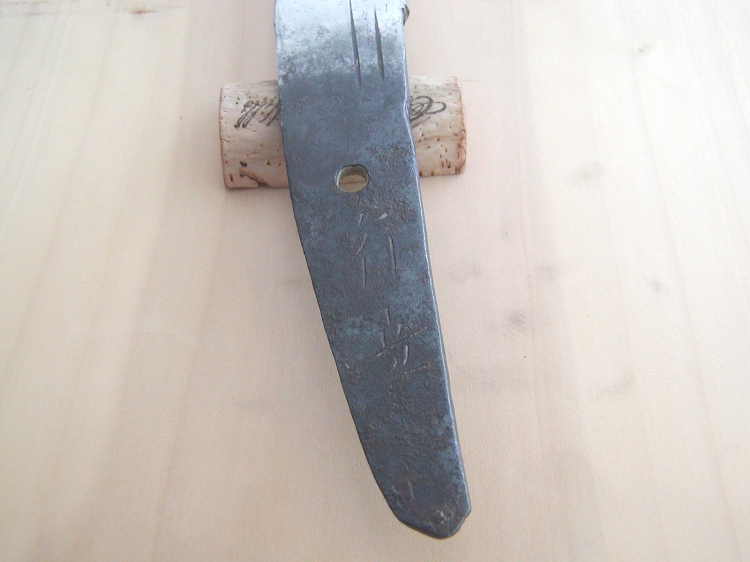
Mei "Yukimitsu". Sou-shu Ubu Nakago. "Sou-shu" is current Kamakura, where the famous Masamune started his own style, so you could say that Sou-shu style = Masamune style. "Ubu" = original. "Nakago" = tang.
As you can see, the rust is not completely taken out, and there are many Kitae-kizu (folding scars).
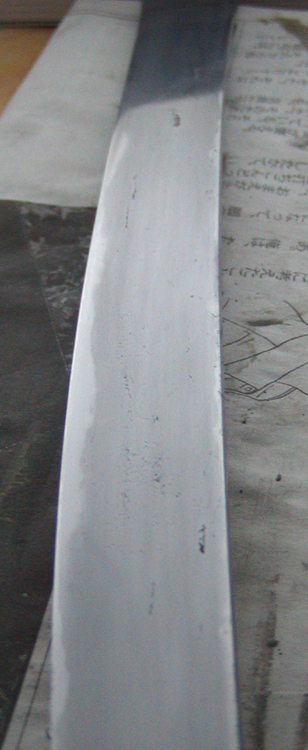
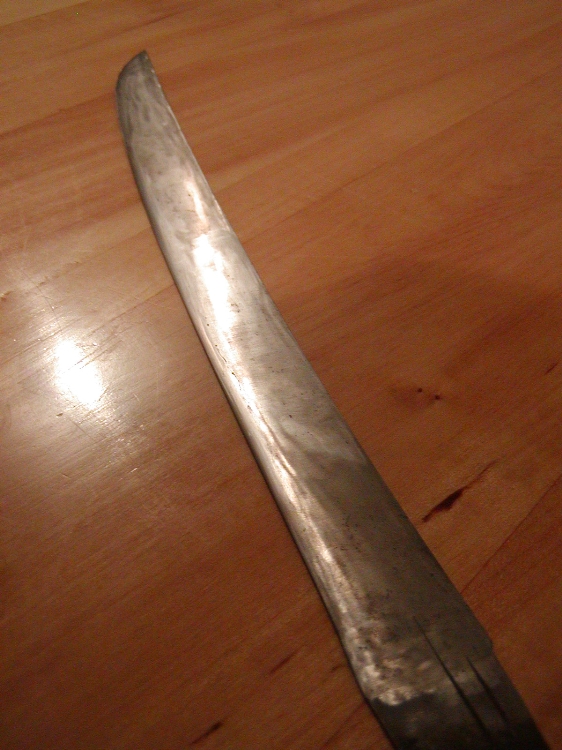
This is where you can see the jigane's folded pattern the most. It's hard to see (it is difficult to capture with camera. Or is it my photography skill? Hahaha....), but it's there. Please refer to the photos below.
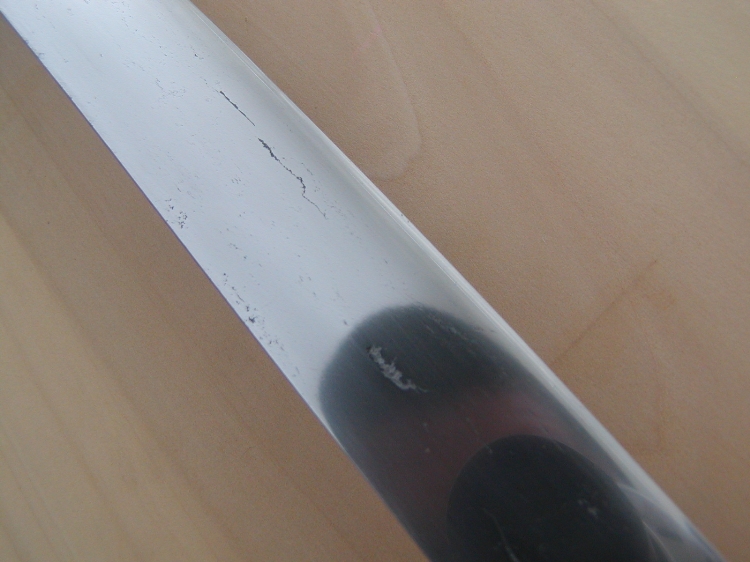
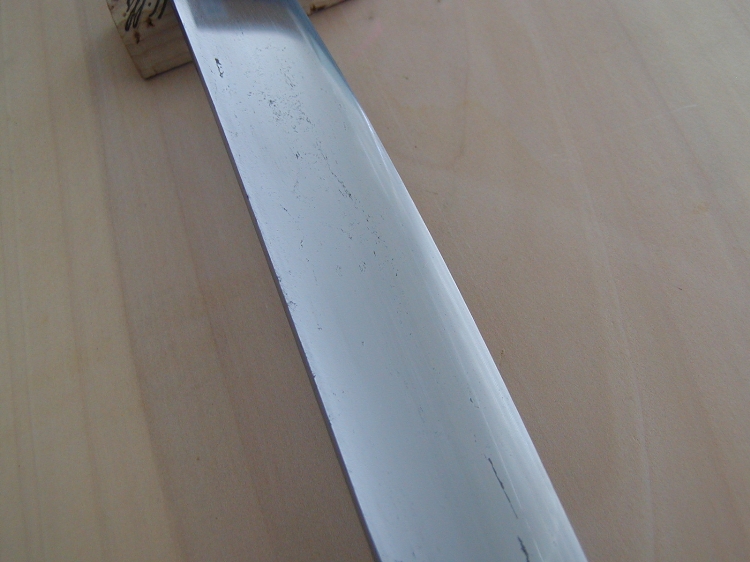
Big Kitae-kizu. In a sense proof of this blade being Tamahagane made.

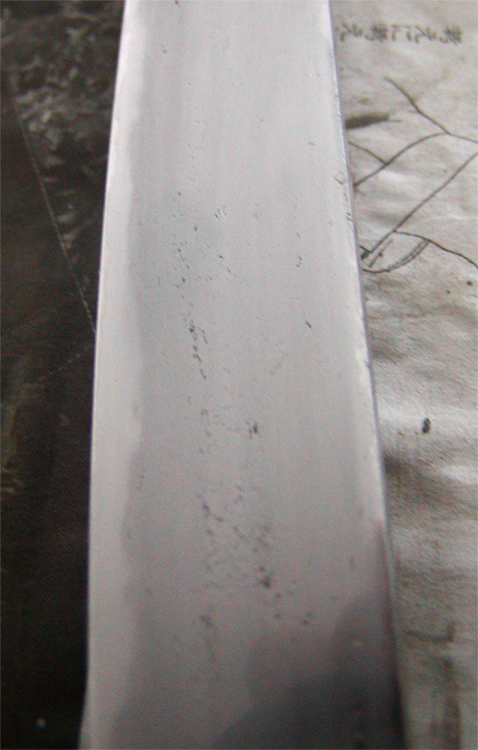
Can you see the "hamon" and the jigane's "hada"? Compare this photo with the next one.

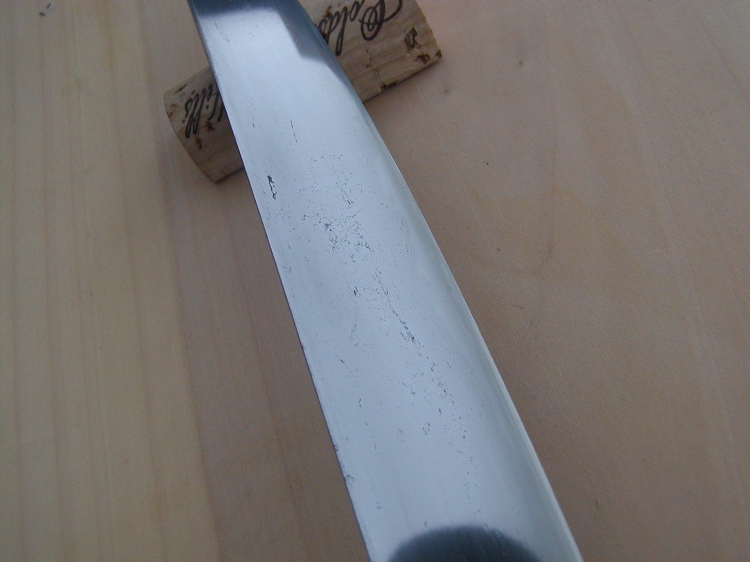
The red line shows where the hamon is, and the blue lines show the flow of the folding lines. The hamon isn't as visible because the "Hadori" process hasn't been done.
===
Warning
One warning regarding the polishing. I received a friendly and thoughful mail from my friend that I should put up a bit of warning to prevent giving a misleading idea that sword polishing is easy. Since his mail describes very well about the subject, I asked for his permission to let me cite from his mail.
=================
I saw the tanto you've posted on your website. Good job with the polish (very difficult to do well). Anyway, I thought maybe you should add a caveat about others trying to polish real Japanese swords (i.e., don't). I used to collect Nihonto, and it was always something that was stressed (still is), that amateurs should never attempt to polish.
Problem is:
The relative worth of a sword is really only able to be determined by an expert. So a blade in poor condition doesn't automatically become more valuable when freshly polished. If it's valuable (as determined by the experts), it should be polished by a trained polisher (I mean the experts who have gone through the quite lengthy apprenticeship in Japan). The problem with someone who has a sword but isn't expert enough, or doesn't seek advice, may think that if they polish the blade themselves it will be worth more money. The damage that can be caused will likely be non-repairable making the blade essentially worthless (as a historic artifact). Caveat emptor so they say, but the point is that:
A. an actual valuable sword might be lost forever, and/or
B. people continue to believe that polishing a real Japanese sword is as simple as taking the blade to progressively finer grit stones (same as sharpening tools or knives), which it is not.
Sorry to sound so dour and dire, but I think its a point you should make just in case somebody out there sees what a great job you did and thinks that they can do it too. See, its always at the coarsest grit stones (which come first) when you go "oops" (or worse, don't even realize what's gone wrong - "where did you get a ko-gatana with Masamune's signature on it?" Well, I started with a blade a little longer, but I polished it myself see...)
Besides, you probably don't want a deluge of questions like: "So, would you recommend a Shapton or a King for my Tadayoshi?"
=================
This is a very very good point. I realized that I shouldn't be over humble giving an impression that the polishing done here is easy. I just have too much respect to the professional polishers, so I am not charging for my polishing (definitely not because it was easy, man~~~, I would like to charge like 50000JPY if I could, but again I have way too much respect to the real polishers, so I can't), but it is not something that just anyone can do, that is for sure. I charge more than 30000JPY to fully polish a knife, and still people tell me that they are happy. So although I'm definitely not as good as the sword polishers, I have much knowledge and experience regarding polishing.
"See, its always at the coarsest grit stones (which come first) when you go "oops""
This is so~~~ true.
Thanks S for your thoughtful mail.
Anyway, the blade I got was seriously cheap (for a genuine sword), and was picked by my connoisseur sword collector friend something that is suited for my purpose, so I was sure that it was nothing very very special. All of you who are interested in trying polishing a sword, I strongly recommend to start with a knife or a normal steel replica sword first (you'll see how difficult it is, and how much money you'll have to spend to prepare all the tools and stones), and when you decide to try with a genuine sword, make sure you know everything you need to know (at least get a very descriptive book), and start working with something that is definitely not special. You don't want to start with a 1000000JPY wakizashi or katana (too expensive + too long).
---
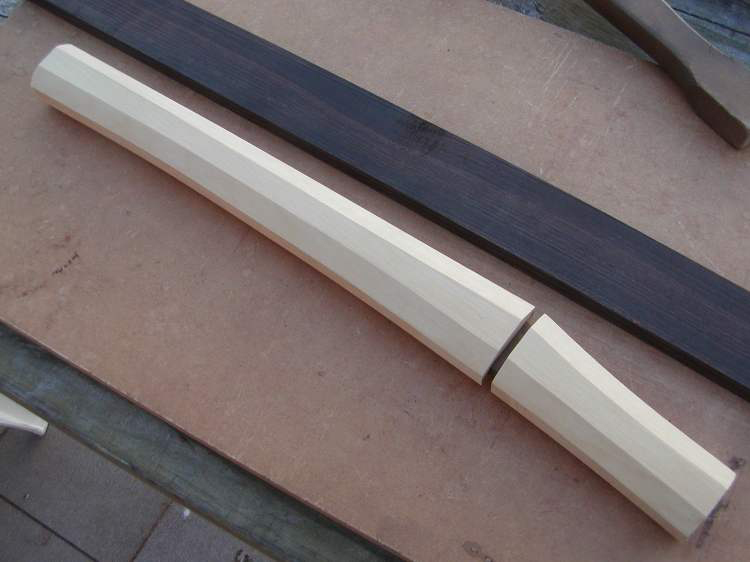
Shira-saya (Sheath) Making
As usual, since I don't have any machines, every step is done by hand tools.
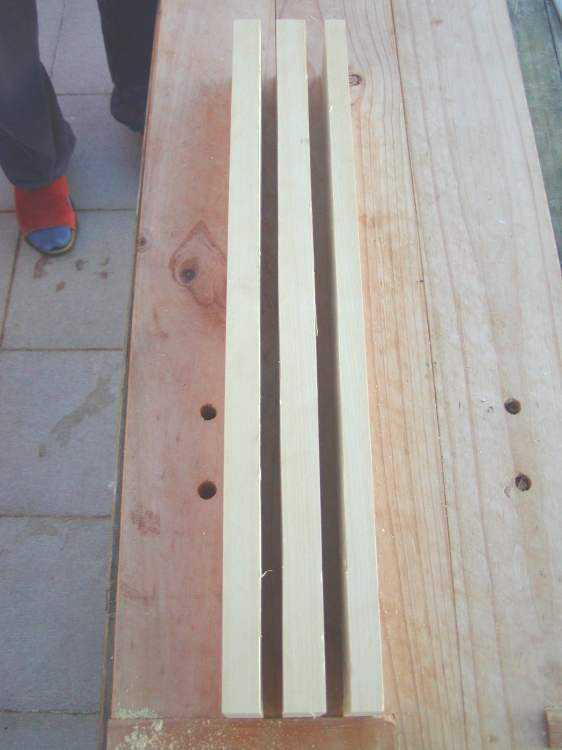
Day 1
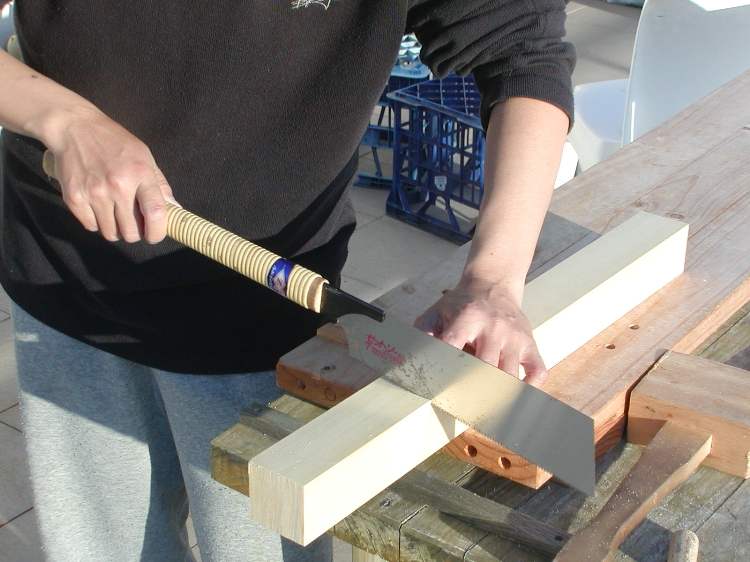
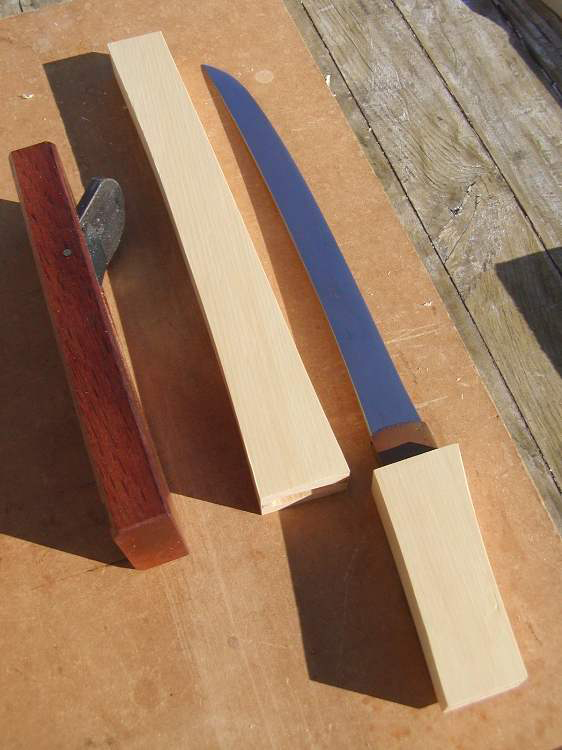
My partner helping me cutting the material into size. This is Alaskan Yellow Cedar my friend has sent me from the US (Thank you very much C.) Beautiful wood, which smells absolutely fantastic. Smells like Japanese Hinoki.
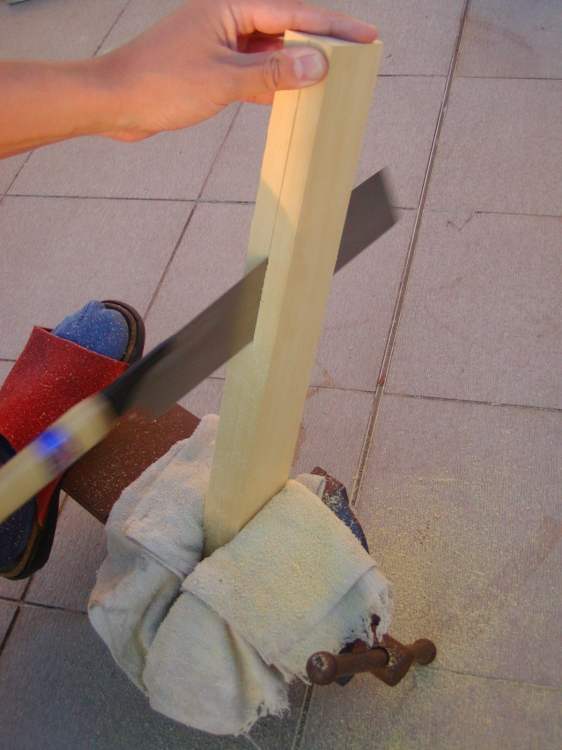
This process is a bit difficult. To cut it perfectly straight with a hand saw. I don't want to waste the material, so I use a thinner blade and that makes it even more difficult to keep the line straight. This is more about the skill and the knowledge rather than the quality of the tool.
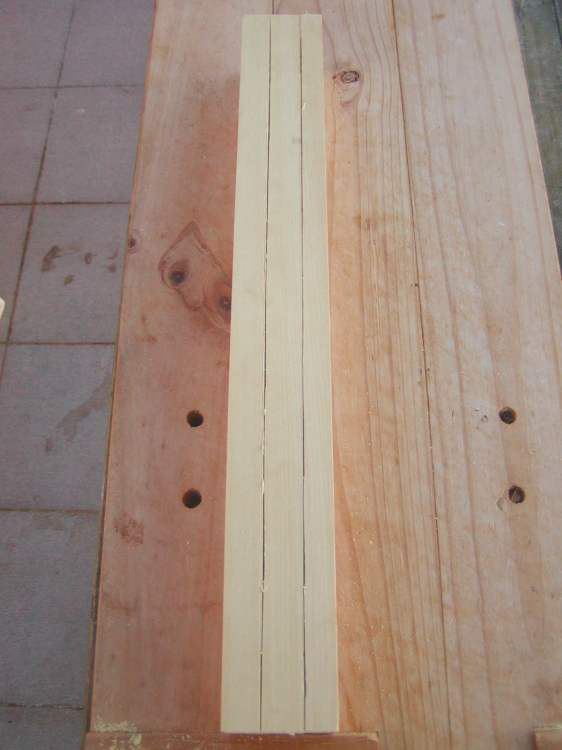
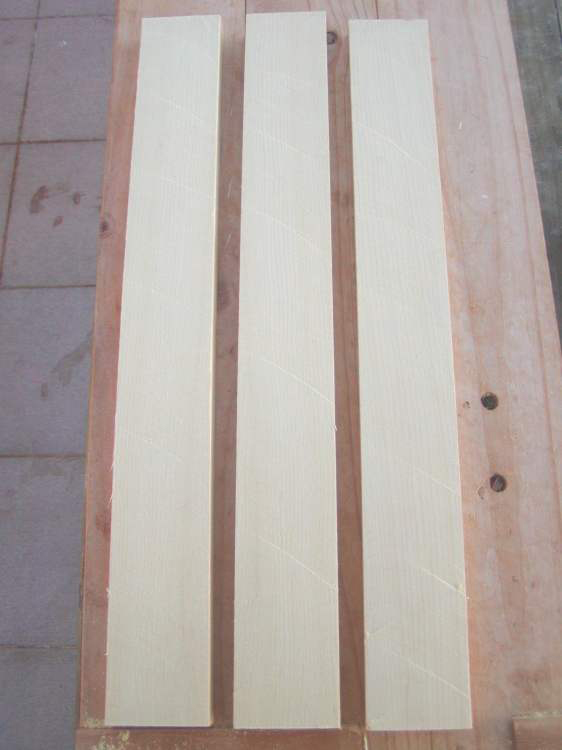
Came out nicely.
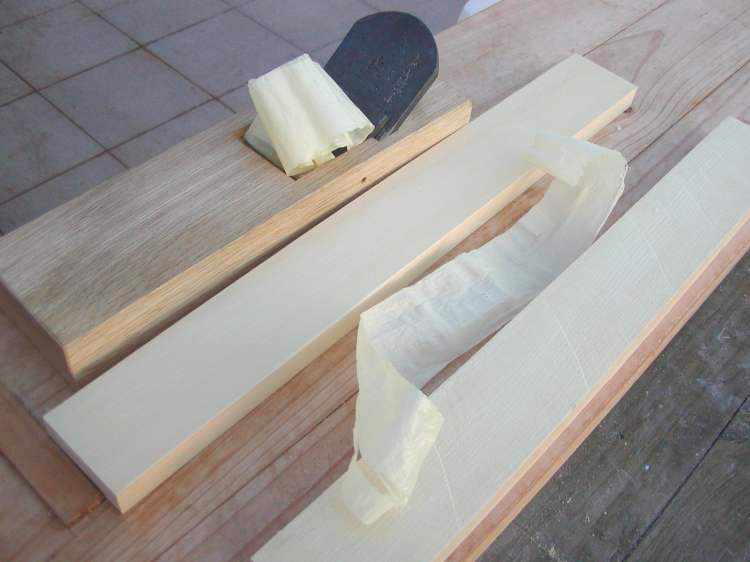
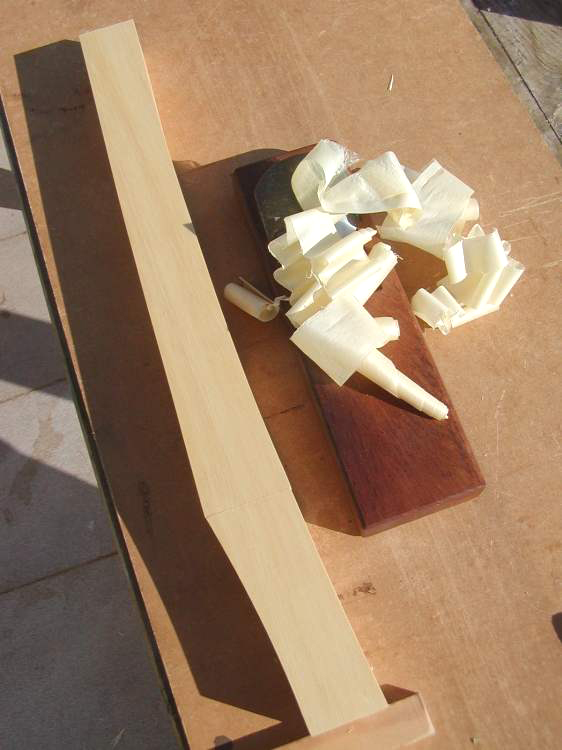
Rough plaining with my trusty Yokoyama "En" 60mm.
Day 2
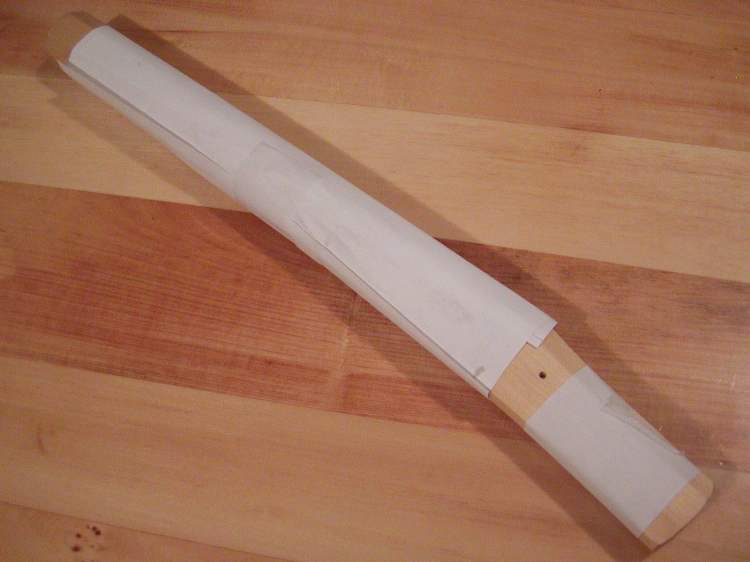
Drawing the outline.
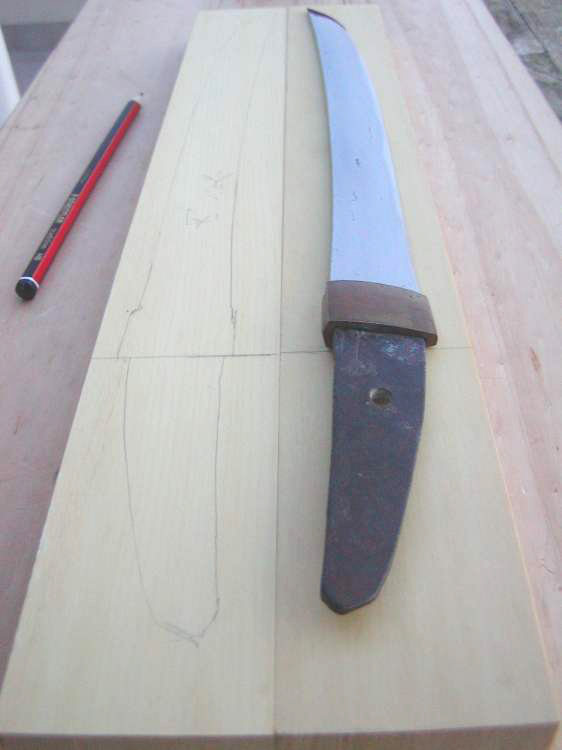
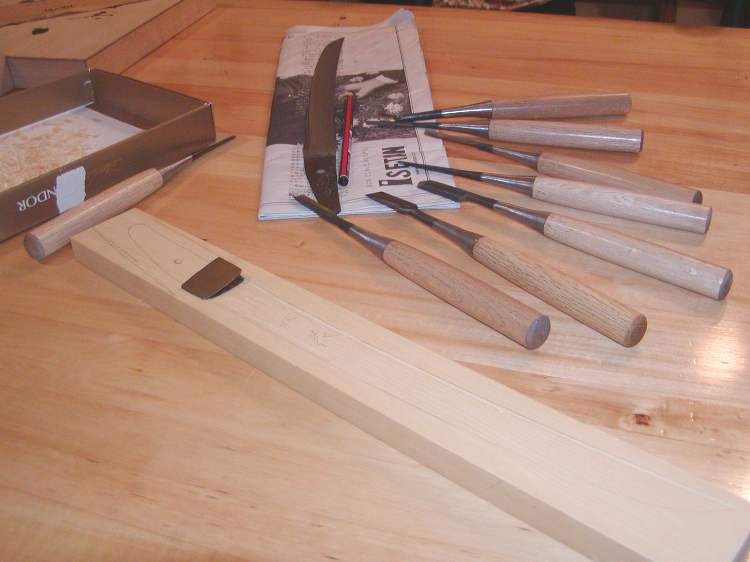
Carving the inside. Here you have to be careful not to carve too much. Need to carve and check, carve and check. Carving tools by Seigen (Kawa-sei).
Day 3
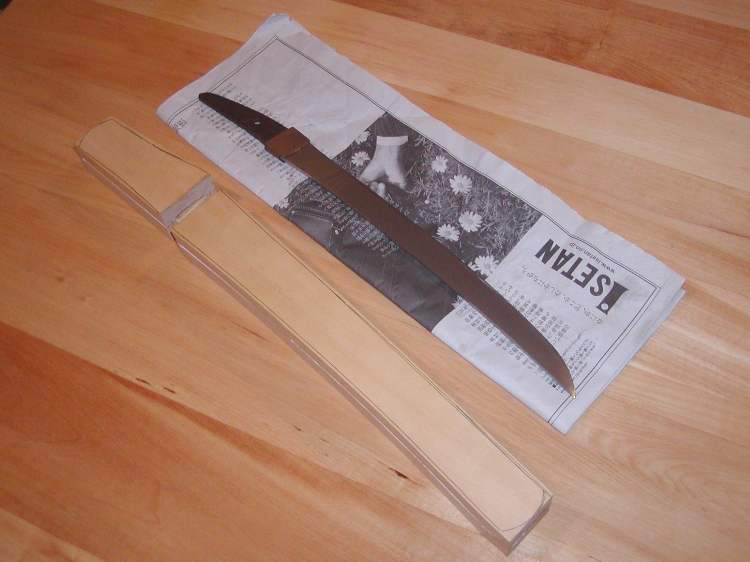
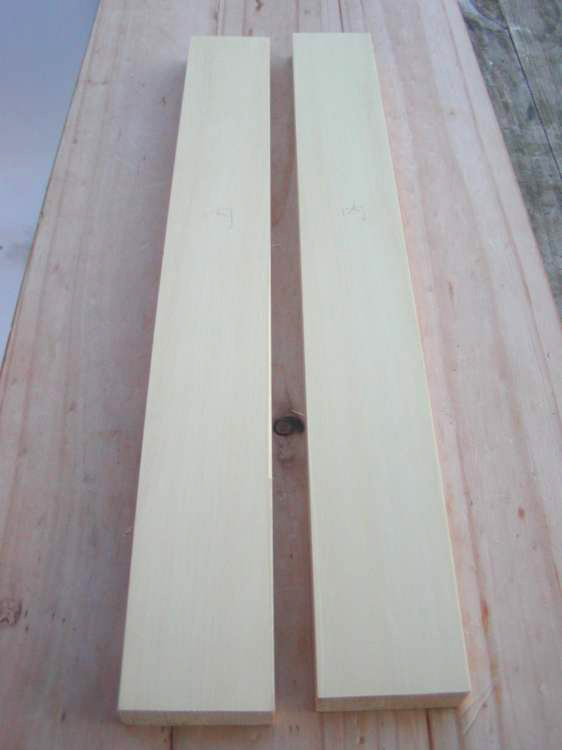
Carving done, and glued together.
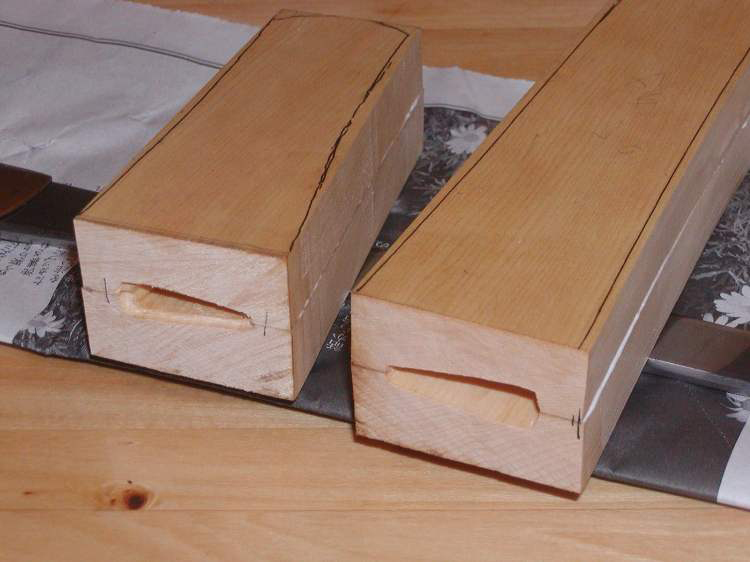
Day 4
Rough planing to adjust the thickness and make the shape. Yokoyama "Kanshin" 48mm ko-ganna (small plane).
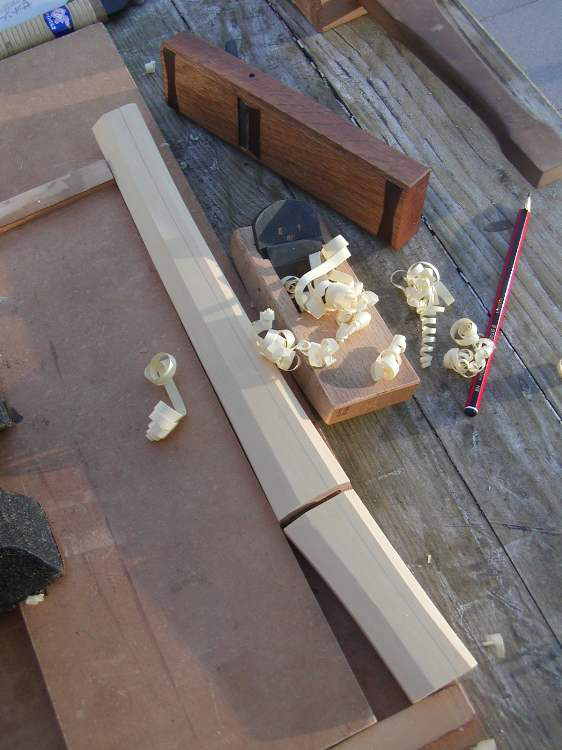
Chamfering the corners with a Yokoyama "Kanshin" 42mm compass plane.
Day 5
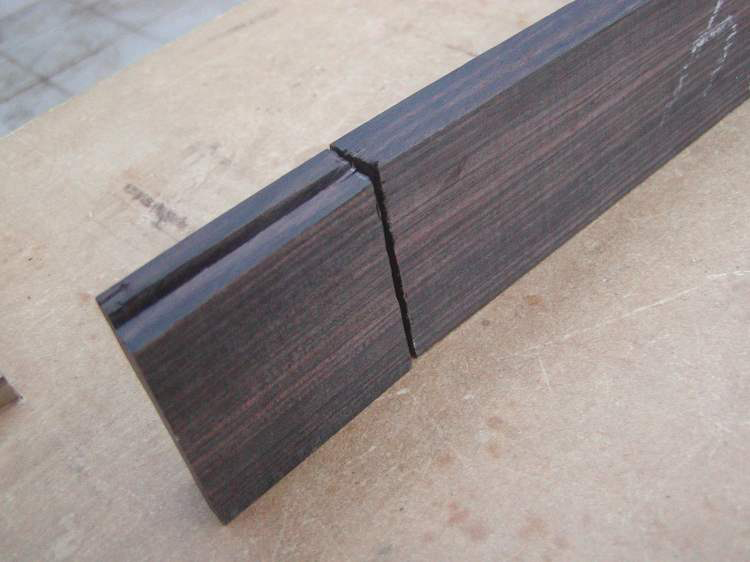
The pieces to attach to the part where the handle and the sheath meet.
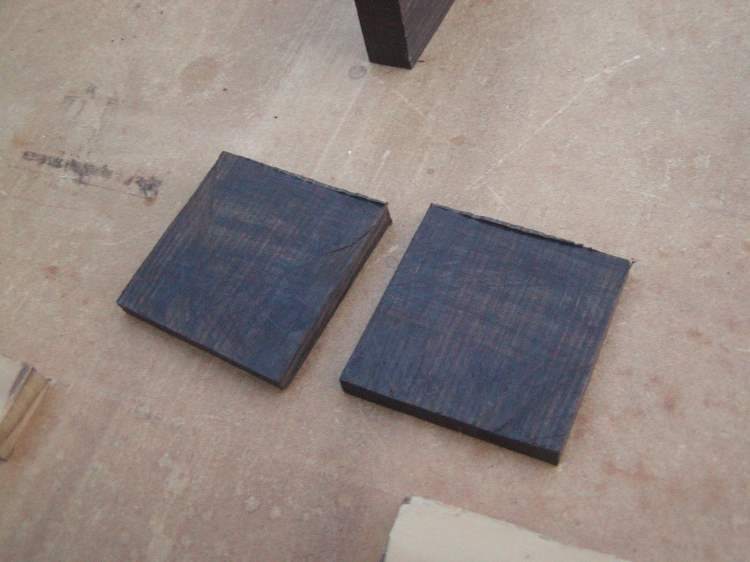
Again with a rip cut handsaw.

Sorry, I was too preoccupied in making, I forgot to take photos of the prcess of the ebony pieces.

Medium finish plaining with Yokoyama "En".
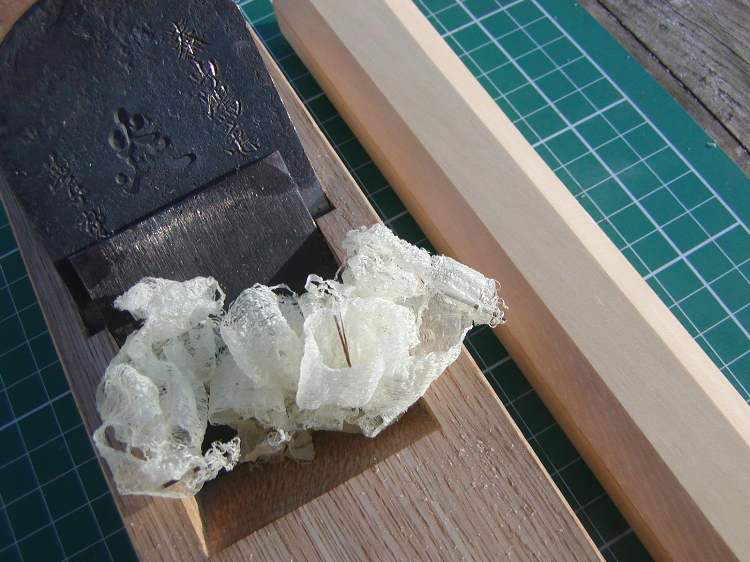
Close up of the med finish plain shave.
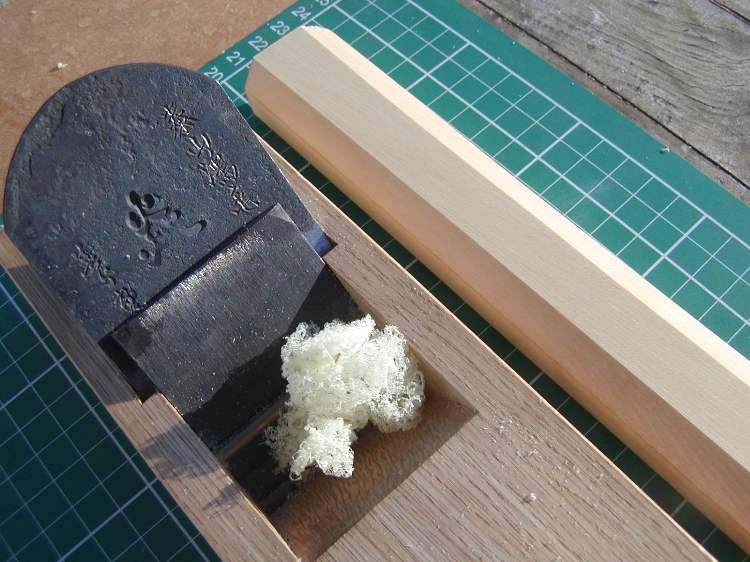
Final finish plane shave. Now the surface is mirror shiny.
From here on I have to be careful not to soil the sheath. I need to make the "mekugi (the pin to hold the blade in position)" and the "mekugi ana (the hole)", and it is basically complete! Mekugi is very very important piece for Japanese sword, thus needs to be makd quite accurately.
Day 6
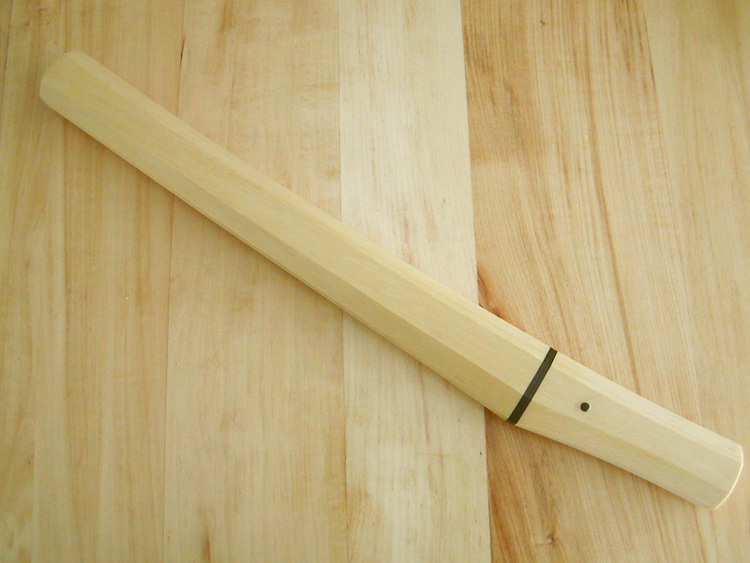
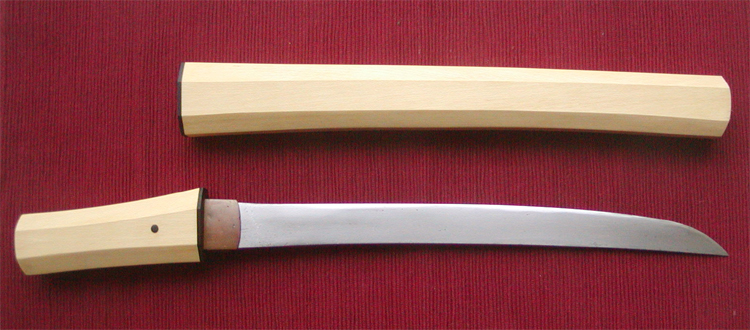
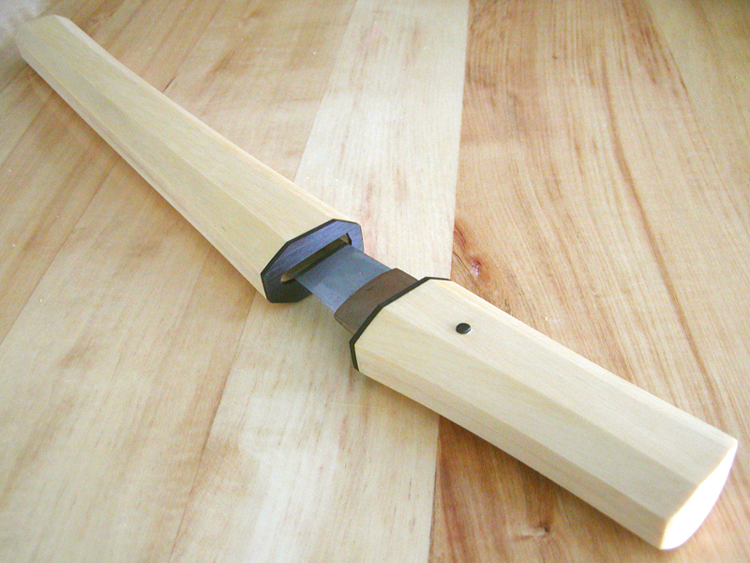
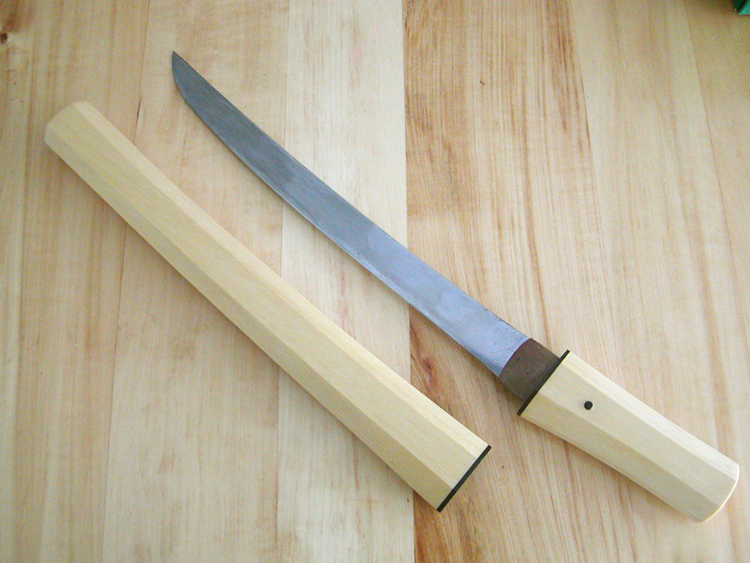
Complete!!!
Sorry, again I got too immersed in making the "mekugi", and forgot to shoot the process.
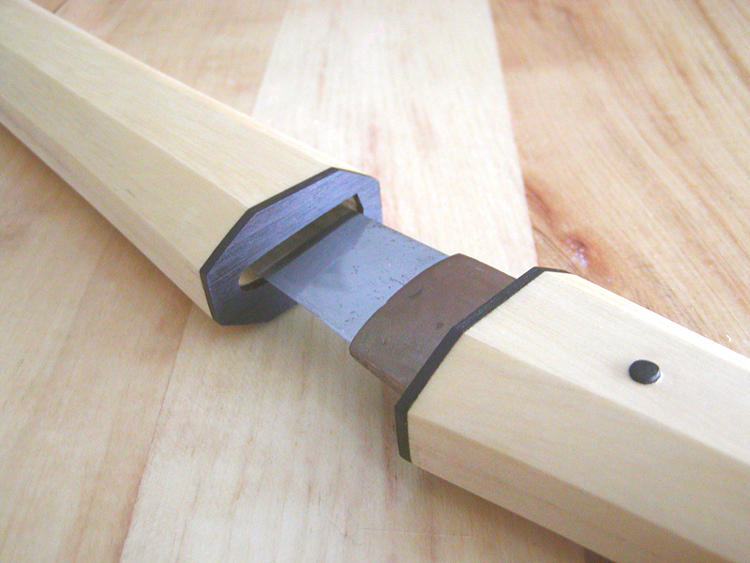
I'm quite satisfied of the quality.
I'll have to polish the blade again because it's all dirty and scratchy.

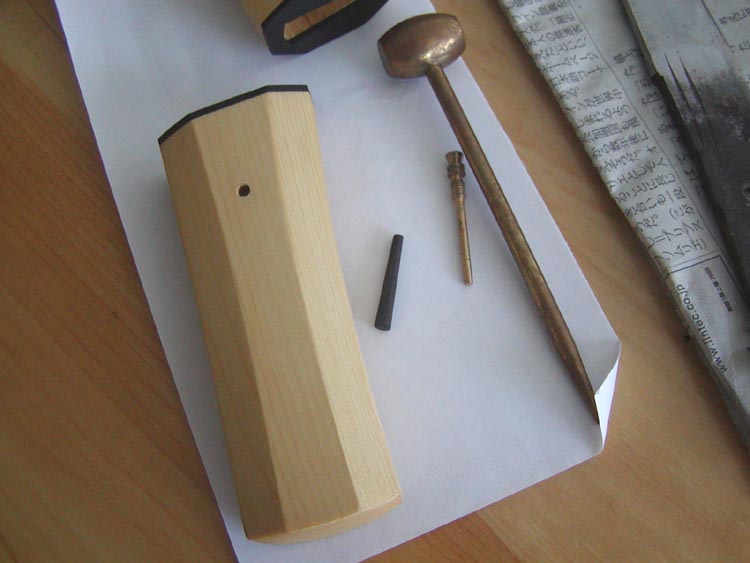
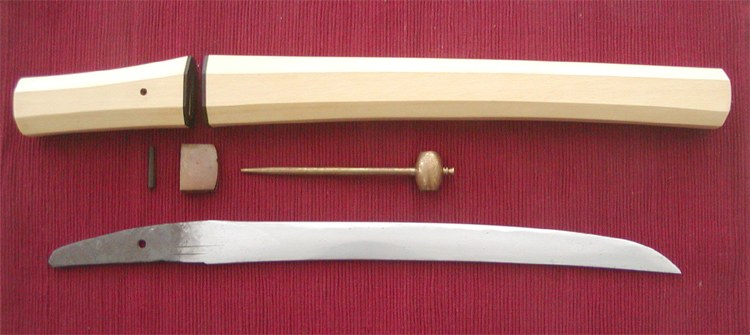
The black pin is the mekugi. The bronze hammer is a special hammer to tap out the mekugi. The pin piece can be screwed into the head of the hammer. I had this sword maintanace tool kit since I was 8 years old. While other kids were playing with Tomika (miniature cars) I was pulling out the mekugi from my duralmin imitation sword, polishing the blade with uchi-ko. What a scary kid I was....
Complete~~~!(^^)